I first heard about the Tera Preta soil-building method from David the Good. If you haven’t checked him out on YouTube, I advise you to do it immediately. Not only will you learn practical tips on gardening, you will get a comedy show. My husband and I met him at a local gardening class while we were living in SW Florida, and not only did he play us a few songs on a rickety old piano, but he also walked with us as a group through a food forest and gave us incredible advice on what to do and what NOT to do when it comes to soil building and much more.
One of the more important things he has advised his audience of is the soil-damaging herbicide Aminopyralid. Check out this article explaining the repercussions and why avoiding commercial manure in your garden is a must if you don’t want to destroy your soil for years. If you have your own livestock and make sure you feed them hay and grass without this harmful herbicide, you should be fine.
Along with avoiding herbicides and pesticides, soil building isn’t something that has to be complicated, and I am proof of that. If there’s one thing I struggle with in gardening, it’s waiting for my compost to be “ready” to use. Patience is not my strong suit, which is why I LOVE this method, and when I did a version of it in part of my garden, I was blown away.
I’ll go ahead and give you the history of what Tera Preta is and how it works, then I’ll share the little short cut I did. I know. I’m impatient.
The Origins of Terra Preta
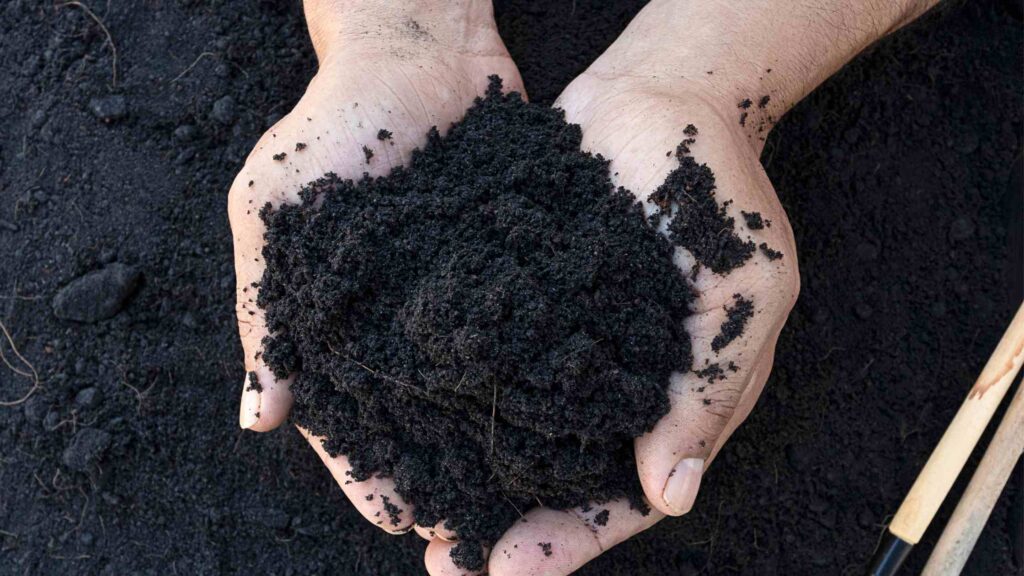
In the heart of the Amazon Rainforest, a centuries-old secret lies beneath the lush, green canopy—a testament to ancient ingenuity and sustainable agriculture. This secret, known as Terra Preta, or “black earth,” is a type of soil with remarkably high fertility compared to the naturally nutrient-poor soils typically found in the Amazon. Its creation and use by pre-Columbian Amazonian societies offer not only a window into the past but also potential solutions for modern agricultural challenges.
Terra Preta’s origins date back to approximately 450 BCE to 950 CE, though some studies suggest its use could extend even earlier. It was developed by Indigenous peoples of the Amazon Basin, who discovered a way to transform the region’s infertile, acidic soils into rich, productive land. Unlike the surrounding soils that lose their nutrients quickly under heavy rains, Terra Preta retains its fertility over millennia, supporting robust plant growth.
Now, some people think that these portions of fertile soil were actually the Amazonian’s waste pits. Some say this is where they performed human sacrifices. Let’s hope not.
The Composition of Terra Preta
What makes Terra Preta exceptionally fertile is its unique composition. It is rich in biochar (charcoal produced from the burning of organic matter in a low-oxygen environment), which helps the soil retain nutrients and water. Additionally, Terra Preta contains a wealth of organic matter, including bone fragments, manure, and composted plant residues. This combination enhances not only the soil’s nutrient content but also its microbial diversity, which is crucial for plant health.
The Benefits of Terra Preta
The benefits of Terra Preta are manifold. Its high nutrient retention capacity reduces the need for chemical fertilizers, making agriculture more sustainable. The porous nature of biochar in Terra Preta improves soil aeration and water retention, which can significantly boost crop yields in regions prone to drought or poor soil conditions.
Modern Applications and Research
Today, the principles behind Terra Preta are inspiring a global movement towards sustainable agriculture and soil management. Scientists and farmers are exploring biochar’s applications to recreate the benefits of Terra Preta in different parts of the world. Research focuses on how biochar can be effectively produced from various organic wastes and integrated into modern farming practices to revitalize degraded soils.
So, how can you make this ancient gold in your backyard gardens?
It’s quite simple, really. You dig a giant hole or fill your raised garden beds with a number of things and plant stuff on top.
Now, I personally haven’t tried it in a raised bed, but I don’t see how it wouldn’t work for that as well. Here’s what I did.
- Dig a 3- 6 ft hole where you want to plant your tomatoes, squashes, or anything really. If you’re doing root veggies, you’ll want to dig out the entire area. The deeper the better, but since I was in Florida at the time, the water table didn’t allow me to go deeper.
- Put some dried leaves, twigs, logs, anything that will burn, really and set it on fire. Yes. Make a fire in a hole. If you get some bones in there, that would be ideal.
- After it’s good and charred, you’ll throw some green, nitrogen-rich cuttings. You could do this with the trees you’ve just pruned or scraps from your garden—anything green, except weeds. Those will pop up in your garden if you do that.
- Sprinkle a little Epson salt on it.
- Then, you’ll want to throw on some bentonite clay. In Tera Preta, they found pieces of broken clay, assuming they pooed in clay pots and threw it in the hole. You could do that, but I opted for a little bit of clay to help the nutrients attach to the soil.
- Next, you’ll throw on some mulch if you have some.
- Now, put on some of your compost. We used Bokashi to break down our food scraps. I just threw that in, as Bokashi is an added benefit to soil. The food scraps weren’t even fully decomposed yet. Didn’t matter.
- If you have rabbits or chickens, you’ll also want to include some of their manure. I love rabbit manure because it has a slow release benefit built right in and you don’t need to wait for it to compost. We use aspen wood shaving for their litter, so we just accumulate the pee and poo in a giant feeding trough and keep turning it every now and again.
- Repeat layers until you fill the hole, making sure your top layer is ready to plant in, like an organic topsoil. You’ll want a good 6 in of this on top so that your other layers have time to decompose and you have the right amount of nutrients for your seeds to germinate or your baby plants to start.
There you have it. It will take a bit of time at first, but after the fact, you can plant in this nutrient-dense soil for years to come. You won’t need to rotate crops, amend your soil, or do any fancy testing. It’s the most passive form of soil building.
How my plants did on Tera Preta vs. simple mulched and composted soil
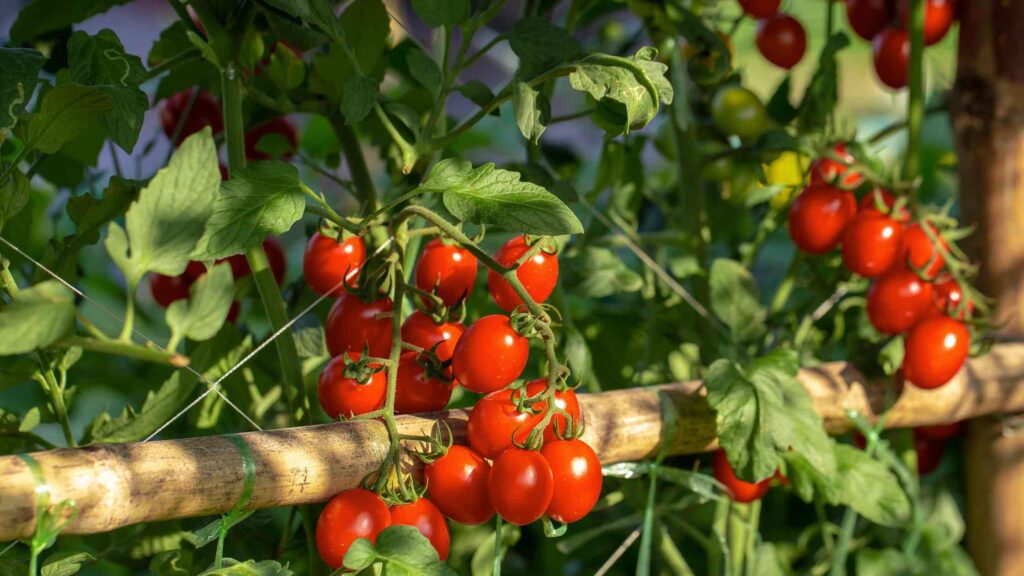
I was eagerly awaiting the results of my Tera Preta. While it started out fairly normal, things got very interesting as time passed. Saying that my tomatoes went absolutely insane would be an understatement. I had tomatoes coming out of my ears. My winter squash was plentiful, and wherever I didn’t do Tera Preta was subpar, at best. They say Florida is rough for growing tomatoes, but not for me.
Now, I’m sure there are many variables with this method, like what zone you’re in, what you’re growing, etc. But I think the formula is pretty fool-proof for almost anything, especially when growing something whose roots go deep. As the roots go down to each layer, they will get a different burst of minerals and nutrients. My tomatoes were SO flavorful.
Here’s a video of David the Good trying it out. It’s different than my method, but I would like to add that I had incredible benefits from the layering I did.